
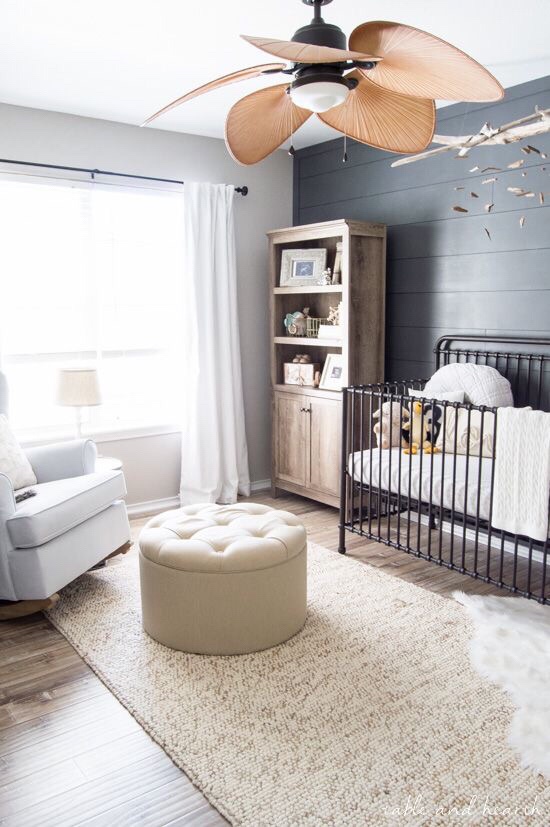
I was inspired to do my own version of this project by the queen of DIY herself, Mr.Kate. She did a more simplified version of this on her YouTube channel (if you are not already subscribed you should be! She is so awesome!) I could not stop thinking about it so I originally made one as a gift for a friends birthday, but I liked it so much I created my own. (pictured above)
First off you will need quite a few supplies and a few power tools
-24 x 24 piece of wood
-paint (I did white and tan mixed for the background, then golds, purples and grey for the circle but as with all DIY’s choose whatever fits you and your space best)
-lights (found mine at target – they looked like mini Christmas lights)
-hot glue gun and lots of glue sticks
-drill
-saw (if wood has not already been cut to size)
-sand paper
-pencil


I started out with my plain pieces of wood cut to the dimensions I wanted
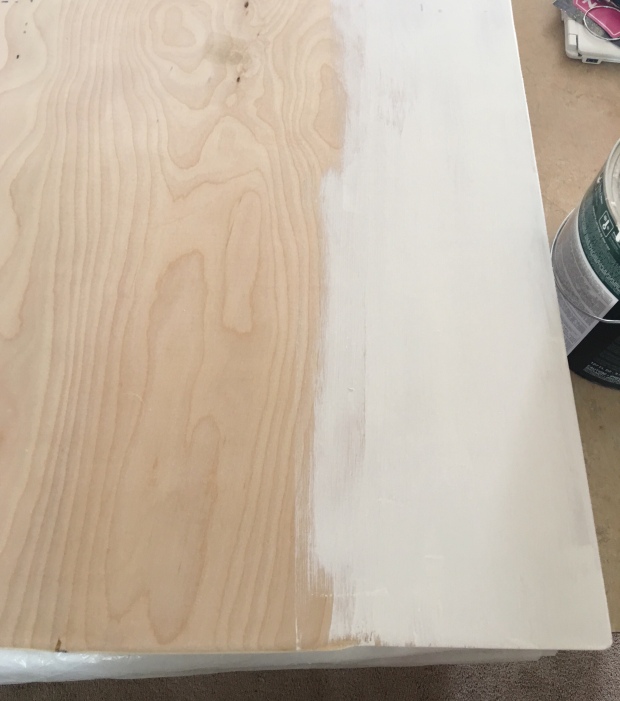
Next I painted each square white (i also added some tan so it would not be flat white) and let that dry.

Once dry I used a string and pen / pencil to make my rough circle shape (You can also trace something or free hand it)

Going off my sketch I did a quick outline of gold paint, marked my constellations and drilled my holes.


Once this step is complete I would advise taking pictures to remember your constellations. Then you can paint the circle whatever color you like and let thoroughly dry.

This step optional if you don’t like the look of the lines, but if you want to include them you will then connect your constellations with a paint pen (again, any color you like) let his dry until your a confident it will not smudge.

Finally you can turn that bad boy over and start gluing in your lights. (Not pictured, but I also did a inch frame around the back of the piece to contain the lights and so it would rest flat on the wall once hung. This also hides the cords when looking at it from the side but you are welcome to skip this step if you like)
Install a wire on the back to hang it and viola! what do you think? If you are inspired to make your own please tag me so I can see 🙂 @babyfacebetty on Instagram
-Allison


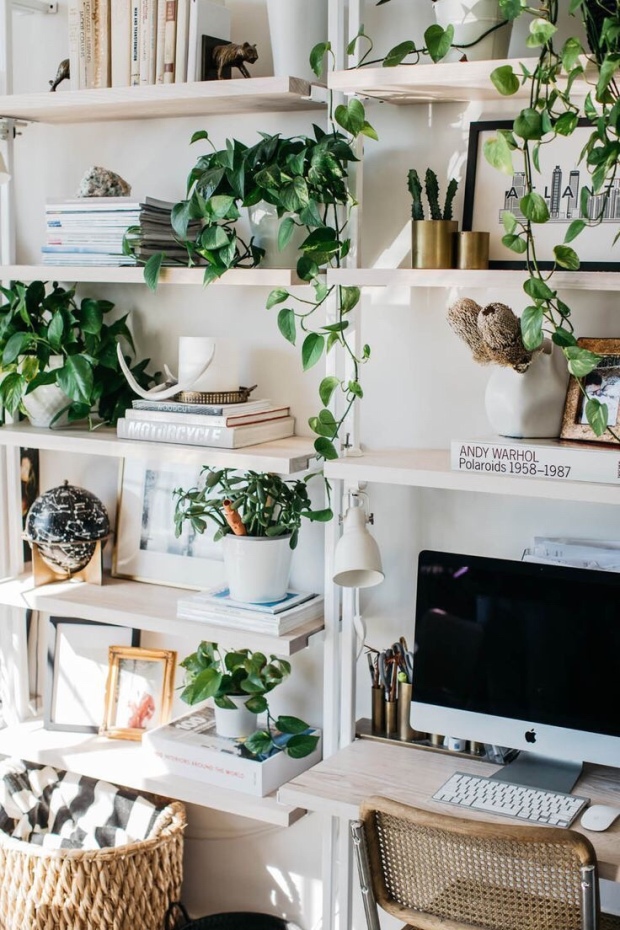
 This dress made out of slips is not so much a DIY but a major source of inspiration when I am out thrifting. This is so gorgeous and all it took was a little imagination 🙃


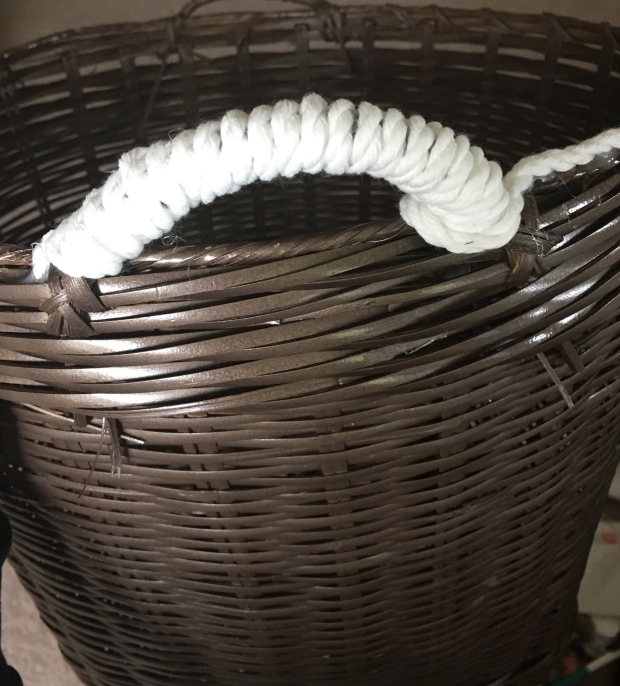
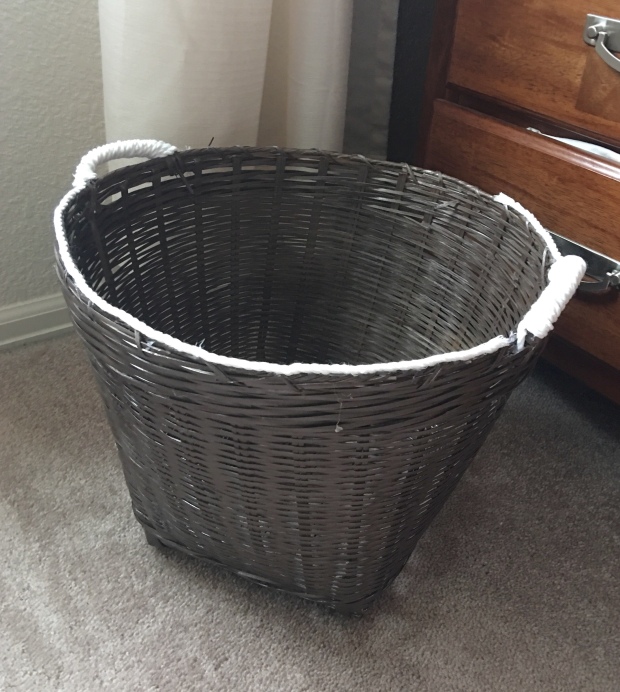


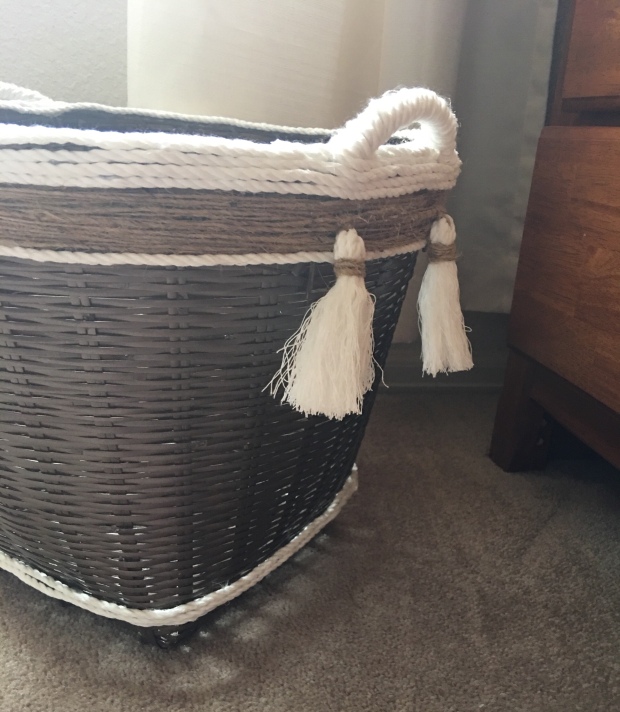
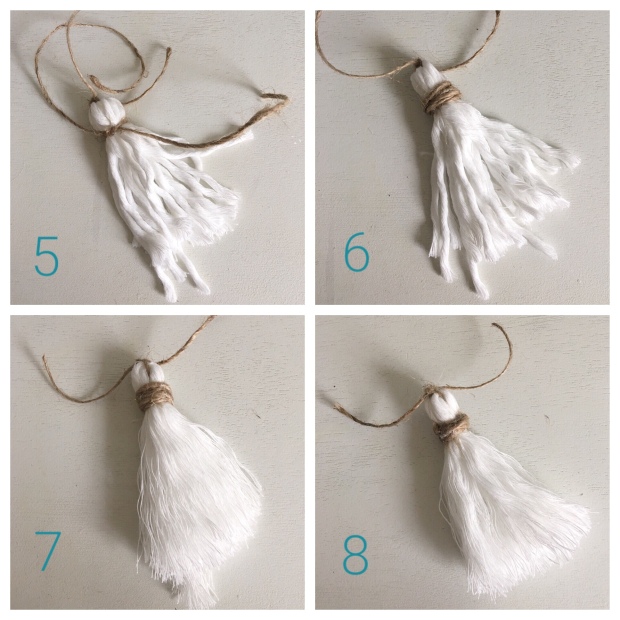
 Next I just continued around the edge until I had an even wrap job. I decided to also add a small amount of white rope an inch or so below and also down at the bottom. Then I liked the look of adding twine for more texture. I also wanted to add some tassels because why not! I have included photo instructions at the very end of this post on how to easily create you own.


You must be logged in to post a comment.